Use a cloth to pad the floor, first assemble from the wide side panel against one end of the wall, and lay the wide side panel on the ground (maintaining 700mm spacing from the rear wall). First, put the plate of the filled three-in-one rubber plug on the cloth, check the hole spacing and the drawing, and install the three-in-one single-link. Then the solid layer is nailed to the cork, fixed on the wide side plate, the top handle with the large handle hole facing upward, the other solid layers are facing downward, and the foot line large handle hole is facing inward (the middle solid layer is consistent with the L frame height, that is, the bottom plate to the solid layer The inner space is 960mm, and the hole is drilled on site.) Put the side panels, nail the cork, and the cork is required to connect the solid layers on both sides. Install the double-link on the second cabinet. Note that the double-handle can only lock half of the large handle, that is, 90°. When the two solid layers are fixed to the side plates, tighten the large handles at the same time. Nail back plate: Place the assembled whole cabinet on the floor of the point mat, and level the side plates into a uniform plane. Use a slider to measure the diagonal size of the cabinet and adjust it to the same level. Use a cloth to pad the floor, first assemble from the wide side panel against one end of the wall, and lay the wide side panel on the ground (maintaining 700mm spacing from the rear wall). First, put the plate of the filled three-in-one rubber plug on the cloth, check the hole spacing and the drawing, and install the three-in-one single-link. Then the solid layer is nailed to the cork, fixed on the wide side plate, the top handle with the large handle hole facing upward, the other solid layers are facing downward, and the foot line large handle hole is facing inward (the middle solid layer is consistent with the L frame height, that is, the bottom plate to the solid layer The inner space is 960mm, and the hole is drilled on site.) Put the side panels, nail the cork, and the cork is required to connect the solid layers on both sides. Install the double-link on the second cabinet. Note that the double-handle can only lock half of the large handle, that is, 90°. When the two solid layers are fixed to the side plates, tighten the large handles at the same time. Nail back plate: Place the assembled whole cabinet on the floor of the point mat, and level the side plates into a uniform plane. Use a slider to measure the diagonal size of the cabinet and adjust it to the same level.
Patio
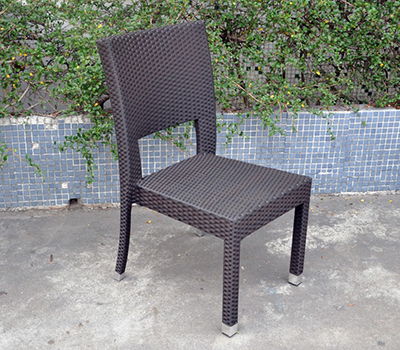
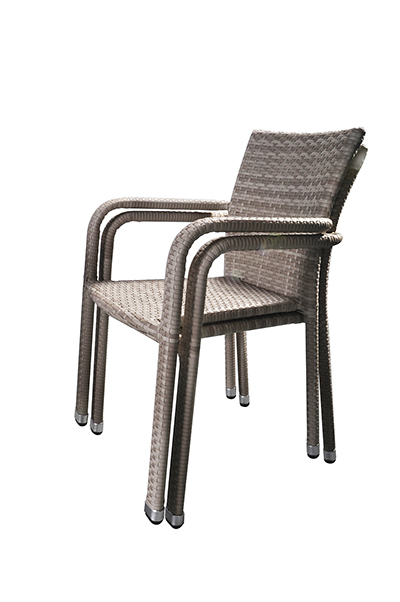
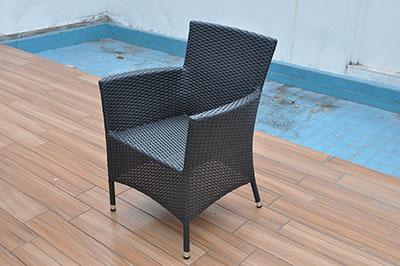
dining chair set featuring full-scale comfort, you can stack and store, you can
set up instantly for guests. The sturdy chairs are woven with all-weather PE
rattan fibers that is hand weaving one by one, very beautiful, and stack for
convenient storage.
Patio
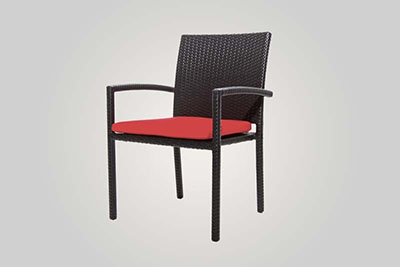
dining chair set has many options: armchair and armless chair, you can decorate
different round, square or rectangle dining table. You can be free collocation
by yourself.
About
us:
1.our
factory is more than 20000 square meter big.
2.
Our showroom is about 800 square meters.
3.
we have professional sale team and more than 200 workers.
4.
The capacity of our factory is 60 containers/month.
5.
we attended CIFF furniture fair and canton fair.
Welcome
your inquiry for further discussion.
Dining Patio Chair Set,Rattan Dining Chair Set,Wicker Dining Chair Set,Outdoor Dining Chair Set Golden Eagle Outdoor Furniture Co., LTD. , https://www.geleisurefurniture.com [ Chinese wardrobe network ] overall wardrobe assembly skills introduction
Overall wardrobe track installation


Overall wardrobe installation process